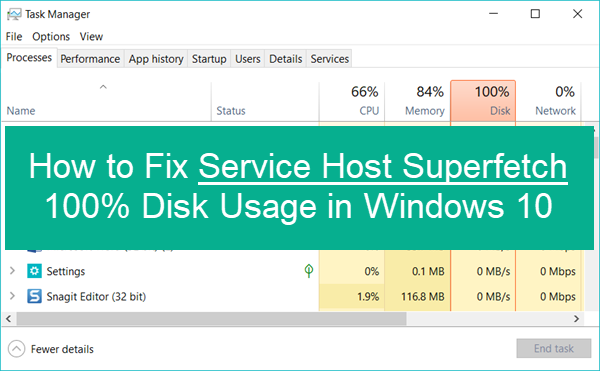
Fix 100% Disk Usage In Windows 10 Without Any Hassle With Service Host SuperFetch
SuperFetch host service plays an effective role in enhancing system performance. However, incorrect installation of this service can damage the disk spaces as well shows an annoying problem, “100% Disk Usage in Windows 10” while you want to launch an app.
Importance of SuperFetch Service Host
SuperFetch is part of an upgraded Windows version that allows the Windows Operating System to control the Random Acess Memory. So, the app can perform its tasks efficiently. To utilize the memory space, Superfeth host device plays a crucial role.
- It reads the data carefully and stores them into RAM rather than the hard disk drive.
- SuperFetch follows the application preloading approach and saves the application accessing time.
- This program improves the device response time.
Thus, it increases the CPU cycles that ultimately enhances system performance.
Utilize Disk Spaces in Windows 10 – Some Effective Technical Ways
If you are not using the latest hardware, then Service host SuperFetch creates an annoying issue and causes the 100% disk usage issue. To overcome these technical glitches, you can try out the steps below.
Upgrade Device Drivers
- Click on the Start button and launch the Start menu.
- Now, type “devicemngr” in the search box and press Enter to open the Device Manager window.
- In this window, you can see a list of hardware devices which are installed already in your system.
- Expand the Hardware category which you want to upgrade.
- Right-click on the devices one by one and choose Update Driver option.
- Next, select the option Search Automatically for Updated driver software and click on the OK button to confirm.
- Once done, the latest version of the driver will be downloaded automatically.
- Save the file and install the driver successfully. It will resolve the high disk usage issue in Windows 10.
Disable SuperFetch Program
- Type “cmd” in the search box and choose the Command Prompt option from the appeared Start menu.
- Right-click on the Command Prompt and choose the option Run as Administrator.
- Now, you are asked to enter the correct credentials such as the admin ID and passcode.
- Press the Login button to launch the Command Prompt window in Admin mode.
- In the resultant window, type the command “net.exe stop superfetch” and Press Enter key to stop the SuperFetch program.
- Next, wait for a few seconds and follow the messages appeared on the screen. Now, type Exit to close the window.
- When done, open the Task Manager window from the Taskbar and check whether the problem is resolved or not.
Perform Disk Check Operation
- Re-open the Command Promot in Admin Mode.
- Now, run the command “chkdsk.exe /f /r” and press the Enter key.
- Press Y from the keyboard to confirm the disk check process. It will start to run automatically and identify the bad file sectors. Therefore, the “/r” command starts to repair the corrupted disk drive if necessary.
- Wait until the prompt appears on the screen. Once done, open the Task Manager window and check the CPU usage graph.
Disable Windows Search Option
- Type “services.msc” in the search box and click on the OK button to open the Windows Service.
- Click on the Windows Search from the several items appeared on the resultant screen.
- Go to the Properties window and make the Startup type as Disable.
- Once done, reboot the system and check whether you can fix 100% Disk Usage in Windows 10 or not.
Reset Virtual Memory
- Press Windows key from the keyboard and choose Advanced System Settings from the left panel of the window.
- Click on the Advanced tab from the resultant window and tap on the Settings option.
- Again, go to the Virtual Memory section by tapping the Advanced tab.
- Make sure that the auto-managed paging file option for all drivers checkbox is not selected.
- Next, choose the Windows drive and mention the maximum memory size as well as the initial virtual memory space.
- Click on the Set and OK button to confirm the new values and continue the operation respectively.
- Once done, press Windows + R from the keyboard together.
- In the Run dialog box, type “temp” and press OK to get the list of unnecessary temporarily accessed files.
- Press Ctrl + A together and hit the Delete key from the keyboard to remove those files.
Remove StorAHCI.sys Driver
- Open the Device Manager window and expand the category IDE ATA/ATAPI Controllers.
- Now, double-click on the ACHI Controller under this category.
- Choose the Driver tab from the resultant window and click the option Driver Details.
- In the System 32 folder, you can see the StorACHI.sys that confirms that the driver is running on the system.
- Close the Driver details window first and click on the Details tab.
- Choose Device Instance Path and copy the link starting from VEN_.
- Close the active window. Type “regedit” in the search box and launch the Registry Editor window by hitting the Enter key.
- Click on the HKEY_LOCAL_MACHINE, System, CurrentControlSet, PCI respectively, and choose AHCI Controller and Random Number one after another.
- Next, go to the folder InterruptManagement under the Device Parameters.
- Finally, go to the Message Signaled Interrupt Properties and double-tap on MSISupported key. Modify the value of the field to 0.
- Reboot the system and check the System Performance.
Summing Up
In the above article, we have discussed the importance of SuperFetch functions as well as its drawbacks. Moreover, we have recommended some of the effective steps to overcome disk blockage like significant issues. We hope, this context will be helpful to repair your system in an efficient way.