How To Replace a Car Roof Lining
A headliner is an integral part of the interior, which is often overlooked by the car owner. It needs regular cleaning and maintenance after some months or years. But, with time, the roof lining of a vehicle starts sagging due to excessive heat or pressure of steam cleaning.
However, you can use numerous techniques to repair or replace the sagging lining. If the headliner is sagging, you can take professional help for replacing it, but in case it is sagging only at the sides or corners, you can fix it yourself. Here’s how you can replace your car’s roof liner:
Gather the correct materials
Before replacing a roof liner, gather the right tools and equipment to remove it. Get fabric, panel popper tool, and heat blocker, spray adhesive, wipe brush, and spanner of suitable size with multiple heads.
Remove the accessories
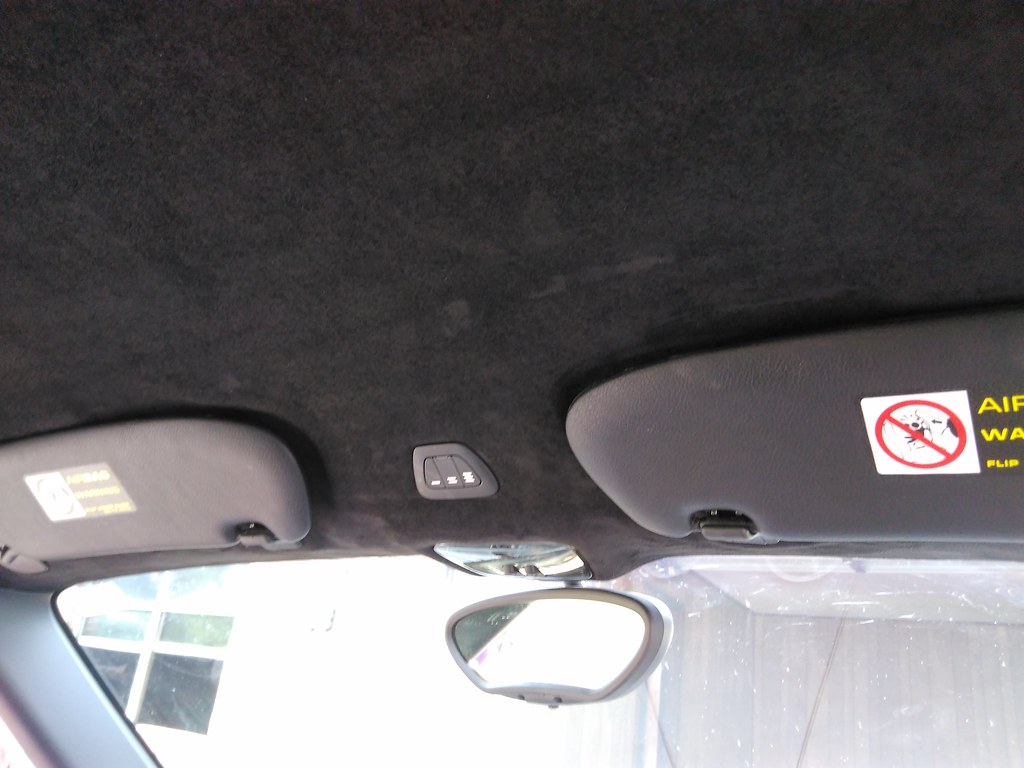
There are many accessories fitted in the roof liner of a car that you need to remove: the sunshades (if any), AC vents (if any), cabin lights, rearview mirror, side handles, seatbelt covers, speakers, and any other accessories. Also, make sure you don’t cut any wires or touch any internal parts of your car . You may also remove car background after taking the photo by doing car photo editing.
Take out the Roof liner
Once you have removed all the accessories, make sure your roof liner is entirely loose, and all the nuts are removed properly. You can also ask someone to help you in taking off the headliner out carefully. The best way to take roof liner out from your car’s backside as it is more significant than doors.
Examine the Fabric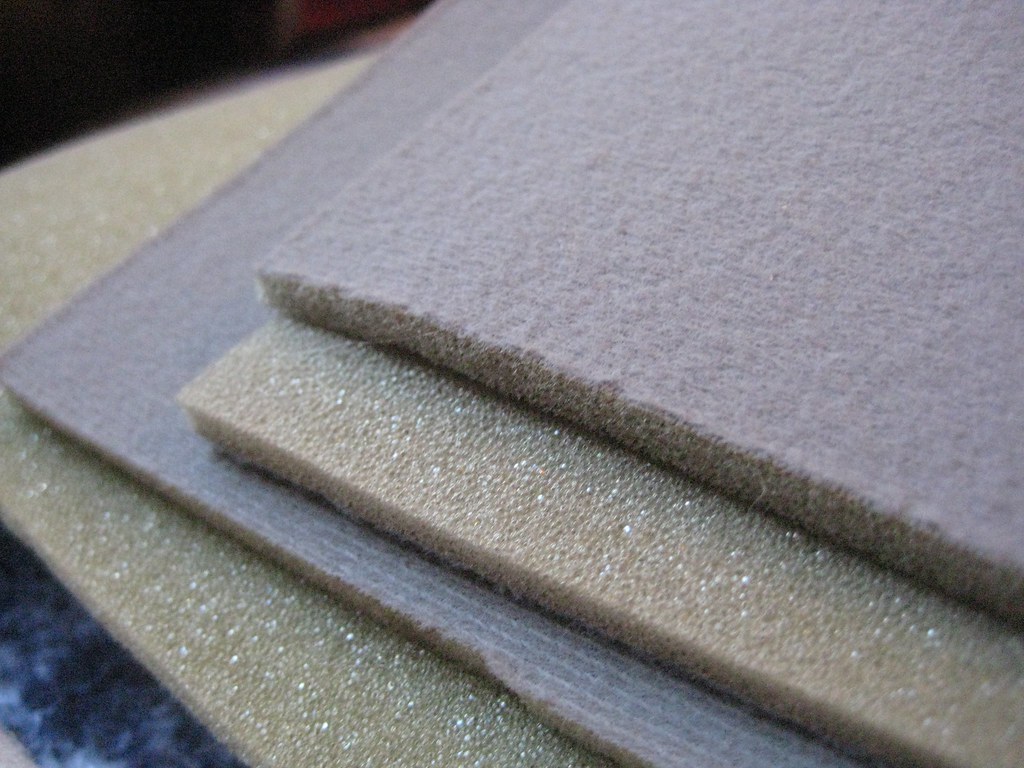
While the roof is exposed, put the board on a flat surface and examine the condition of the fabric, whether it requires reinforcement, repairing, or replacement. Usually, the primary reason for sagging is the weakening of glue due to excessive heat and pressure of steam cleaning.
Clean and prep
The roof is now exposed; peel off the damaged material from the board-like headliner. You can also use a wire brush to remove any old adhesive, dust particles, or bits of fabric. Then, place your new covering over the headliner to ensure that you have enough material to cover the entire board of your car.
Cut and trim
Now that the headliner board is clean use a sharp utility blade and cut the side edge flush with the liner board. Also, cut the fabric out of the holes for the lights, sun visors, side handles, and other accessories that were previously removed. Be aware that you trim only the appropriate holes.
Glue the fabric board

Put your new fabric roughly in any suitable place and fold half the fabric back from the middle. Then apply a good spray with adhesive and smooth the material. Again, flip the glued half back over the board and then repeat the procedure for the other half. Always remember that regular glues are not much efficient in repairing, so look out for the best adhesive in the store.
Once you have applied all the glue on the fabric, pull it taut to ensure that there are no wrinkles on the structure, and the new material sticks firmly to the board for your car.
Fix the edges and let the adhesive dry
Meanwhile, the adhesive dry from both the sides, wait for 5-10 minutes and turn the headliner board over, and then quickly fix the remaining material to the board using accessories.
Cut guide holes
Since the fabric is covering up all the holes you need to screw into, use the utility knife to cut guide holes.
Don’t cut completely around for screw holes; poke a small hole in the fabric using the tip of a knife, and leave the one-inch gaping area around the holes that the screws and bolts don’t cover. Also, if any excess fabric left behind, fold it into the holes and around the edges of the headliner.
Reinstall the headliner
After drying the glue, carefully fit the headliner board into your vehicle with the help of someone and start putting all the screws and refit the accessories correctly. Also, in the end, examine the headliner thoroughly if it is installed correctly or not and lightly brush the new headliner to remove the marks and fingerprints.
Bottom Line
Follow the steps mentioned above to replace the sagging roof liner of your car. However, regular care of your headliner can make a huge difference when it comes to the appearance of your vehicle. If you want to repair or replace the entire fabric of your car yourself, it can be tough. If you prefer replacing it yourself, it is best to take help from a friend instead of handling everything alone. However, it is best to call a professional like car roof lining repairs Ipswich to replace or fix your car’s headliner.